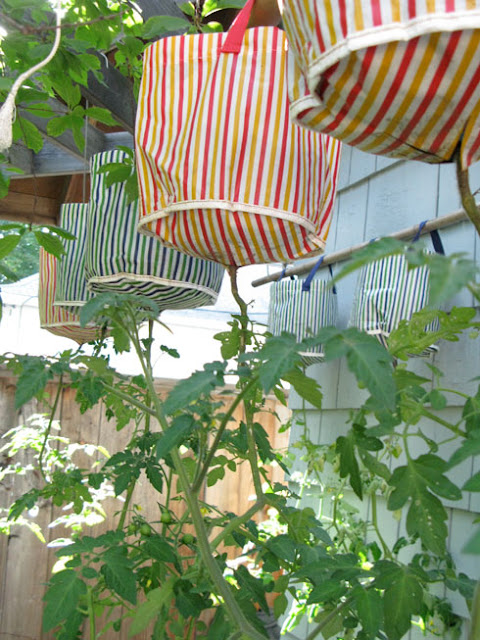
Materials: VASTLIG
Description: This works best with younger plants, though I have transplanted full size plants into this upside-down configuration without too much problem.
Tools: Scissors, plant, dirt, boxboard or cereal box-type material-(you can use felt too.) A pole for hanging your plant.
1. Look at your plant and decide if you want to push the roots up through the bottom or if you want to push the plant down through the bottom.
2. Get you VASTLIG bag and cut a X on the bottom. It should be as wide as the branching leaves on your plant or the root ball. You don't want to make this too big or the plant will fall out. But you can make your X smaller in the next step.
3. Cut the boxboard or felt to fit the bottom of the bag- it doesn't have to fit exactly, but it must be a few inches bigger than the X. This is a collar.
4. Cut collar from the edge of the boxboard or felt to the center, and when you get to the center, cut a circle shape. Set this aside.
5. Now put your plant through, then grab your collar and nestle it down into the bag so it holds the roots and keeps them from falling out of the X.
6. Add dirt and water and you are done.
P.S. Ikea for City Gardening!
By looking at Ikea items in a different perspective, I have used them for my city garden.
VASTLIG- bag as upside-down planter
FNISS-waste basket as deep root planter
EVERT- as deep root planter
SMYCKA- tied together as plant supports
TROFAST- as shallow root planter
~ Ninjarita, Minneapolis


Post A Comment:
0 comments:
Post a Comment