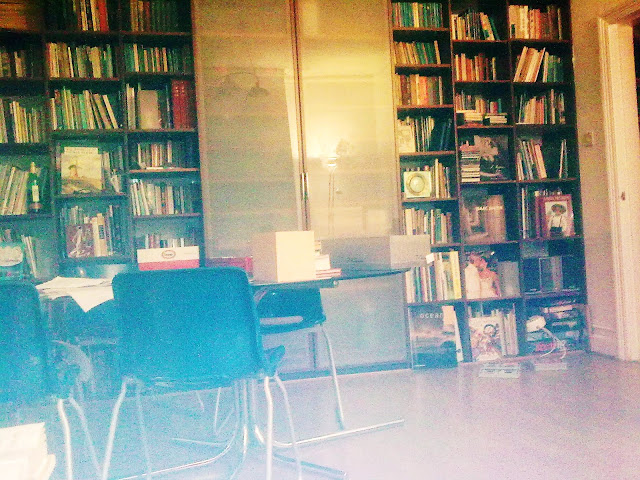
Materials: Wardrobe sides, oddments of shelves, desk tops etc, two glass wardrobe doors, lots of shelf studs, circular saw, drill
Description: With only the vaguest plan in mind I bought a load of damaged tall wardrobe SIDES, some matching oddments of shelving, desktops etc, some long lengths of matching 10mm wide timber trim and a pair of damaged 600mm wardrobe doors, with obscure glass, which were the same height.
The wardrobe SIDES come already pre-drilled for shelf studs.
I cut each wardrobe SIDE with the circular saw to a 400mm depth, keeping the good leading edge and the first two sets of stud holes.
On all except the two outer SIDES and the two centre SIDES I drilled through the stud holes so each upright SIDE now had stud holes on each side. I cut away the back bottom corner of each one to clear the skirtings with a bit over to allow electric cables to pass along the skirting.
I fixed the two outer wardrobe SIDES first, straight to the side walls, cutting away enough at the bottom to clear the skirting boards but maintain the same height as the other SIDES.
Then starting from the centre I fixed the wardrobe SIDES to the back wall with brackets.
The central pair were fixed together to allow the wardrobe doors to meet properly (hence no drilling of the stud holes.) I then left a space equivalent to a 600mm wardrobe interior either side so the doors would hang and meet in the middle. From then I fixed the SIDES at 400mm intervals until I got close to the side walls where I left an oversized space. I made sure everything was vertical. I now had a series of uprights with two 600mm spaces at the centre, then 400mm spaces between and two spaces of a different size at the ends.
I used the left overs from the SIDES cut to size as a roof to the unit and fixed the trim to hide the raw edge.
I cut most my shelves, desktops etc into 400mm by 400mm shelves, always ensuring I had one good leading edge.The rest was custom measured to the spaces at the ends, this let me make allowances for the walls not being as vertical as my uprights! The pieces which weren't such a good colour match or had no good edges were cut into shelves for the centre, because they wouldn't be seen. I did have to make a few return trips to the bargain corner as the shelves took an astonishing amount of material. However the unit is stable so you can add the shelves at any time.
The end shelves became more or less fixed as they were custom cut to the gaps they fitted. Other than that all the shelves were infinitely adjustable (much, much more so than Billy bookcases)
In the beginning I had cheap lamps in some of the empty cubes which made wonderful mood lighting but as you can see from the picture eventually the books took over.
Two years ago I wanted a new look with straight white shelves ...
... so I transferred the shelving system to the space under my stairs. Using mainly the wider shelves from the cupboard area.
~ Ruth Holmstock, London


Post A Comment:
0 comments:
Post a Comment